Showing posts with label DIY. Show all posts

Tuesday, April 10, 2012

March Showers bring April Flowers??

Yeah, something like that.... 

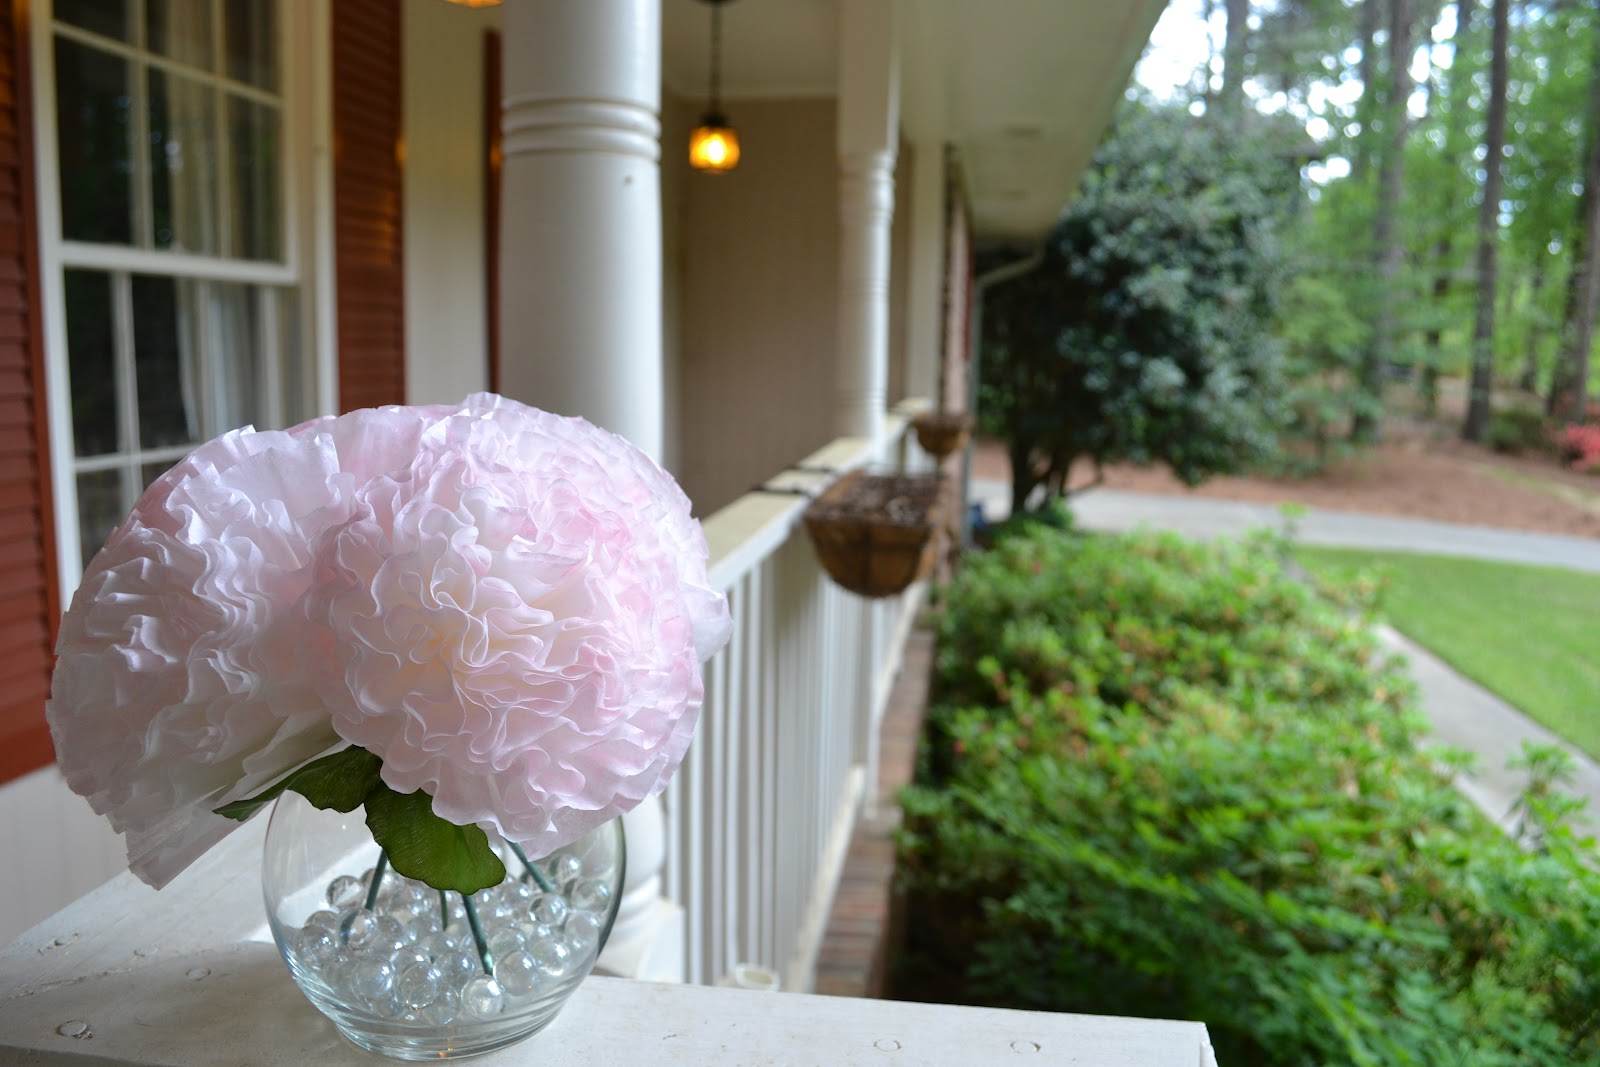
With Spring in the air and budding all around us, when I stumbled upon Little Birdie Secrets' adorable handmade peonies, I knew I had to make them.  I invited my bestie Joy over (you can check out her blog here) and we went to town on this simple and fun DIY project.  Take a look at our finished products....


Aren't they adorable?!  They are made from coffee filters and wooden skewers!  Some people are so so clever. 


It was a super easy and quick project.  Once I got going it probably only took me a half an hour to make one small bouquet of four stems.  Surprisingly I was able to get almost all of my supplies at the Dollar Store which saved a lot of cash.  One vase of flowers cost me less than $5-- pretty good.  I made a couple bouquets to give as hostess gifts for Easter.  And boy were they a hit!


I love the blush pink version too!!


These would make a perfect decoration for a bridal shower, too!! Or really any kind of shower for that matter.  I hope you enjoy making these as much as I did!

Thursday, April 5, 2012

Ten June Love

Hey!  Today was a good day.  One of my DIY projects was featured on one of my favorite blogs...


Now that's what I'm talkin' 'bout! 

Remember this....

Robin's Egg Necklace

Michelle over at Ten June included my lovely necklace in her DIY Easter Project Round Up.  She also features several other adorable Easter projects that can definitely be finished in time for the weekend. 

 If you haven't been over to Ten June you really must check it out.  Michelle uses her quirky sense of humor to relay awesome DIY project ideas and home renovation projects.  She also includes clever posts about life in general. One of my favorite projects of hers is this DIY rustic wall art...


... just beautiful!

Thanks again Michelle for including me in your post!!

Wednesday, April 4, 2012

DIY Personalized Silhouette Art

It seems that these days silhouette-ing is ALL over the place.  It's not just your run-of-the-mill Disney World souvenir anymore (am I the only one whose tiny black-framed silhouette is still gracing the walls of my parents house? I think not!).  So, in the spirit of bringing a little old-school wall art into modern times, I have decided that my husband and I should be cast in black!  I know, the suspense is just killing you...


First:
You are going to need some fabulous and possibly unflattering profile pictures of your subjects.  I say unflattering and you will soon understand what I mean.  I apparently felt the need to pose for my profile pics in the middle of the night and looking particularly grungy.  So you'll start with this:


See what I mean? eeww. Anyway, no time for vanity people!  We must get going. 

Second:
Print this lovely photo from your home printer in the size needed to fit your frame.

Third:
Cut your photo out following your profile carefully.  This is important because any mistakes here could have you looking a bit... skewed.  And the whole point is having PERSONALIZED silhouettes, if you didn't care if it looked like you why waste the time??

Now you'll need to gather some supplies:
A pencil
Black card stock
Background paper in a contrasting color
Scrap booking tape
A pretty frame


Fourth:
Tape your cut-out profile onto the BACK of the black card stock and trace carefully around your profile.


Now if you have a wonky ponytail, like I did in my profile pic, just kinda re-draw it so it looks sassy.  I also added a playful little eyelash, too. 


Fifth:
Cut it out-- carefully again.


And you'll wind up with this:


Lastly:  Arrange your silhouettes on your background paper and tape with double backed scrap booking tape, put in a frame and there you have it!


Now, where to put it??  Any ideas?

Tuesday, April 3, 2012

Money Laundering: A How-To Guide

Did I get your attention? Good, 'cause I'm lying.  It's just plain ol' boring clothes laundering.  I know, I know-- cheap tactics.  Anyway, This is the next installment of my home makeover.  The notorious Laundry Room!!  How exciting!


By some miracle our little old house had an actual room made for the purpose of washing clothes.  I mean, we barely have any closets to store clothes.  So you can imagine my shock and awe, when we realized that hanging off our kitchen was a not-that-tiny room with the appropriate hook-up for a washer and dryer.  Hallelujah!

Unfortunately, like the rest of the house, this room was ugly when we moved in.  So we needed to make some changes.

The laundry room before...

After:


The first thing we did was paint the walls the same cheery color as the kitchen.  Then, I knew I wanted to paint the cabinets white, but I thought it might be pretty (since the cabinets were so plain and ugly) to take the cabinet doors off (like we did on those upper kitchen cabinets) and paint the insides the wall color, and leave the frame-work of the cabinets a nice white contrast.  The only downside is, of course, not being able to hide messes behind those cabinet doors, but really, it just made the space more functional for us.  I was able to see everything we had instead of just stashing junk in the cabinets. 


We also painted the utility door white to match the new and improved white cabinets. What a difference!

Last, but not least, we added this super awesome drying rack from.... IKEA!  It folds flush to the wall when not in use, and pops open to dry those delicates.  Love it!


This whole laundry room makeover only cost us $50.  Twenty for the drying rack and hooks and the rest in paint.  So worth the money for such a big improvement! 

I hope you liked my laundry room makeover!  Have you made any laundry room upgrades lately?  I'd love to hear from you!


Wednesday, March 28, 2012

Spring Bling: Robin's Egg Necklace

Spring is in the air, and so is my need for fun, cheap accessories!  Sure you could go out and spend $20, or $30, or $40 on a cute new necklace, or you could pop into your local craft store and spend about ten bucks on supplies and about 10 minutes of your time and make your own!  This Robin's Egg necklace is the perfect Spring accessory. 

Supplies:
One strand of Beads
One yard of Ribbon
Tapestry Needle

(double your beads and ribbon if you want to make both variations of my necklace)


First:  Gather supplies 


Second:  Thread your beads onto the ribbon using the tapestry needle


Third:  Tie a pretty bow and cut the ends at an angle to decrease fraying


And BAM!  Necklace complete! 
P.S. I never said it was the most original idea.  But keep it simple and mix it up with fun Spring colors to make it your own.


If you're feeling really froggy, get yourself a coordinating ribbon (try a yard and a half, to give yourself more length options) and make another.


Dress up a plain white tee with a funky, chunky necklace... or two!


Saturday, March 24, 2012

Home Renovation: Before & After

 
When we bought our 1960's ranch four years ago I knew that changes needed to be made.  The previous owners believed wholeheartedly in flesh tone colored walls.  No seriously, they must have been undertakers, because every wall in the house was some hue of pale death.  Not a good look.  Not only that but in the true style of the 60's bungalow, every room was partitioned off, making us feel particularly claustrophobic. With a more open floor plan in mind we knew that some of the walls HAD to go!  Here is a journey through the before and after of our home renovation, enjoy!


This is the house when we bought it, we added the railings and planters to make it more welcoming (as seen in the photo above).


The entry way before...


And after...
 

In the 60's apparently people had just one outfit to live in, and thus did not have the need for closets, or at least not very big ones.  And that left us completely WITHOUT a coat closet.  But with a little help from IKEA, we created a welcoming entryway complete with a hat/coat rack and shoe rack/bench for under $150. 

The hat/coat rack is great to keep our jackets and my purse out of puppy's reach

The magazine rack by the door is also from IKEA- great for organizing mail as we bring it in


This quick and easy DIY project can be completed on the cheap.  All you need is a small framed mirror, some hooks, and the hardware.  Instantly you have a home for your keys, so no searching frantically when you are already running late.  And the added bonus of being able to check your teeth for stragglers before you head out the door.


Part of what bothered us about our house, was this giant wall which separated the front and back of the house when you walked in the door.  The first thing that greeted you was this ghostly white wall which was about 20 feet long.  It left us with these awkward rooms which were not very functional.  The front of the house when you walked in the door was intended to be splint in half into two tiny rooms-- the living and dining rooms.  Then the back of the house had the fireplace and was supposed to be a "keeping" room- whatever that is.  The keeping room was this long and narrow room, which wasn't big enough to be a living room or anything else useful to us.  So that monster of a wall had to go!!  And it did!


View from the entry way before....
 

Why would you want to hide this fireplace? And as you can see, I was getting a little ahead of myself, trying to start the mantle decor prematurely :)
 

View from the entry way after...
 
 As you can see from the above before picture, the fireplace was painted a lovely cyanotic gray-purple.  Reminiscent of an episode of CSI.  My original plan was to paint over that color entirely with the dark brown, but as I gently rolled the paint over the brick I realized that it gave it more depth and personality to leave it two-toned.  So that's what I did... I only gently paint rolled the darker brown color over the surface of the bricks, letting the mortar remain a lighter contrasting color.  Believe me, I was shocked that a color that horrific could look decent at all.


View of the dining room before (well, really, in between)
 

View of the dining room after


View of the living room before
 

Bamboo floors also from IKEA- great value and look awesome!
 

View of the living room after
 

View from the dining room before
 

View from the dining room after
 

I hope you enjoyed browsing our renovation and I hope it inspires you to make some fun changes in your home!


Wednesday, January 18, 2012

For the Chic Home Brewer... although I'm probably the one and only


While my husband and I enjoy drinking and especially trying new beers, we hadn't put much thought into home brewing until a recent trip to the Pacific Northwest.  We flew to Seattle, rented a car and drove the Pacific Coast Highway down to San Francisco while trying to stop at as many local breweries we could find along the way.  When we happened upon the Rogue Brewery in Newport, Oregon we were so inspired by the beer (which is now my new favorite) that we fantasized about opening our own brewery.  So here we are... daydreaming about opening a brewery, but not having the first clue about how to brew beer.

When I purchased a Groupon for a home brewing introduction class at Brewmaster's Warehouse near Atlanta, I had no idea the can of worms I was opening up.  After attending the class, where I was the only girl in a sea of grungy men, we had decided to try it.  It didn't seem like a big investment of money, so we figured, why not?

The process itself isn't hard at all, there are plenty of websites with beer recipes and with the help of the beer geniuses as Brewmaster's Warehouse we had all of the supplies and ingredients we needed.  We dedicated a lazy Sunday afternoon to our first attempt.  Hence, we named it McFindley's First Try IPA.  Now this ordeal is not for the impatient.  Believe me, I am the QUEEN of impatient, and it was unbearable waiting a week for the beer to ferment, then another two weeks for it to condition, and then yet another two weeks for it to carbonate.  Whew!  It was rough, and then after all that waiting was the huge looming probability that our beer just plain sucks.  Luckily for us, it didn't.  It was quite tasty and quite hoppy- which did not go over well with the majority of our friends, who we forced to try it. 

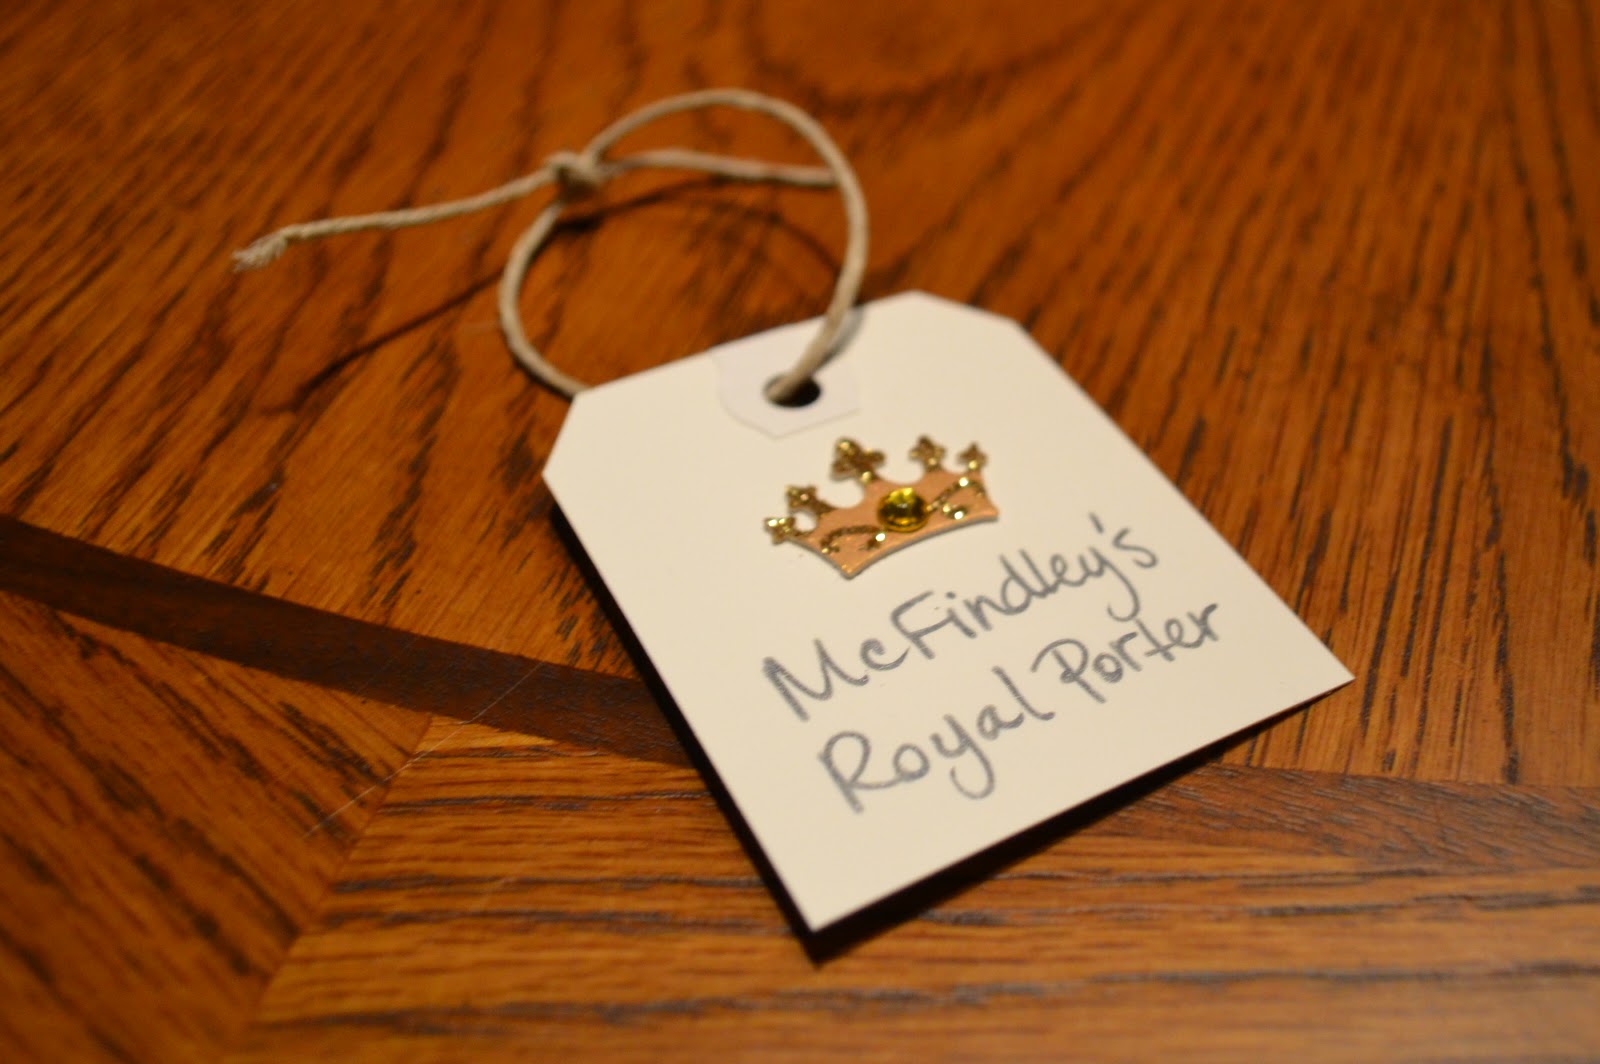
Now, I do love beer, but I'm not a flannel-shirt-wearing tom-boy.  I needed to find a way to make this chic.  So why not take pretty pictures along the way and make adorable tags to label our beer?  Being a beer snob AND a woman is something of a rarity I guess, so I figured I needed to embrace it!

Since our first attempt last August-ish, we have brewed two more varieties- McFindley's Pumpkin Ale and McFindley's Royal Porter.  We gifted the beer to our male relatives for Christmas- and it was a hit!

For all those chickies out there who "don't drink beer"- give it another go 'round.  You really are missing out.  I have an even better appreciation for it now that I know what goes into making it. So cut your man some slack and get on board.

the supplies

steeping the grain

tossing the grain

adding the extract

the beautiful, fresh hops

racking the beer

looks delicious

it's bottling day!

all bottled up
handmade labels

ready to gift!